Audience: organization owners, authorized signatories, finance teams, and account administrators using ChatAman.
1. What is postpaid billing?
Postpaid billing lets an approved organization use ChatAman services during a billing period and receive one consolidated invoice instead of paying from prepaid credit for every operation.
The standard journey is:
- Your organization submits a postpaid contract application.
- You upload the required company documents.
- ChatAman reviews the application and sends the contract template.
- Your authorized representative signs and stamps the contract.
- You upload the signed PDF.
- ChatAman approves the application, configures pricing and the credit limit, and activates the contract.
- Eligible usage is recorded against the active contract.
- A consolidated invoice is issued for the billing period.
- Your finance team pays online or follows the agreed bank-transfer process.
Approval of the application does not start postpaid billing by itself. Pricing rules must be configured and the contract must be active.
2. Who does what?
| Role | Main responsibility |
|---|---|
| Organization owner or administrator | Submits the application, monitors its status, and gives the finance team access to the required information. |
| Authorized signatory | Reviews, signs, and stamps the contract. |
| Finance or accounts payable team | Reviews invoices, due dates, tax details, and completes payment. |
| ChatAman billing team | Reviews documents, prepares the contract, configures pricing and credit, issues invoices, and records approved payments. |
Before you start, agree internally on one billing contact and one authorized signatory.
3. Before submitting an application
Prepare the following information:
- Registered company name.
- Company type, when applicable.
- Authorized contact name, email, and phone number.
- Registered address, city, and country.
- Tax or commercial registration number, when applicable.
- Company website, if available.
- The email address that should receive billing communication.
Prepare clear copies of the company documents. Supported formats are PDF, JPG, JPEG, and PNG. You may upload between 1 and 10 files, with a maximum size of 10 MB per file.
4. Open the postpaid billing area
Sign in to the correct organization, then open Billing.
From this area you can:
- Start or continue a postpaid application.
- View the current application status.
- Download the contract template when it becomes available.
- Upload company documents and the signed contract.
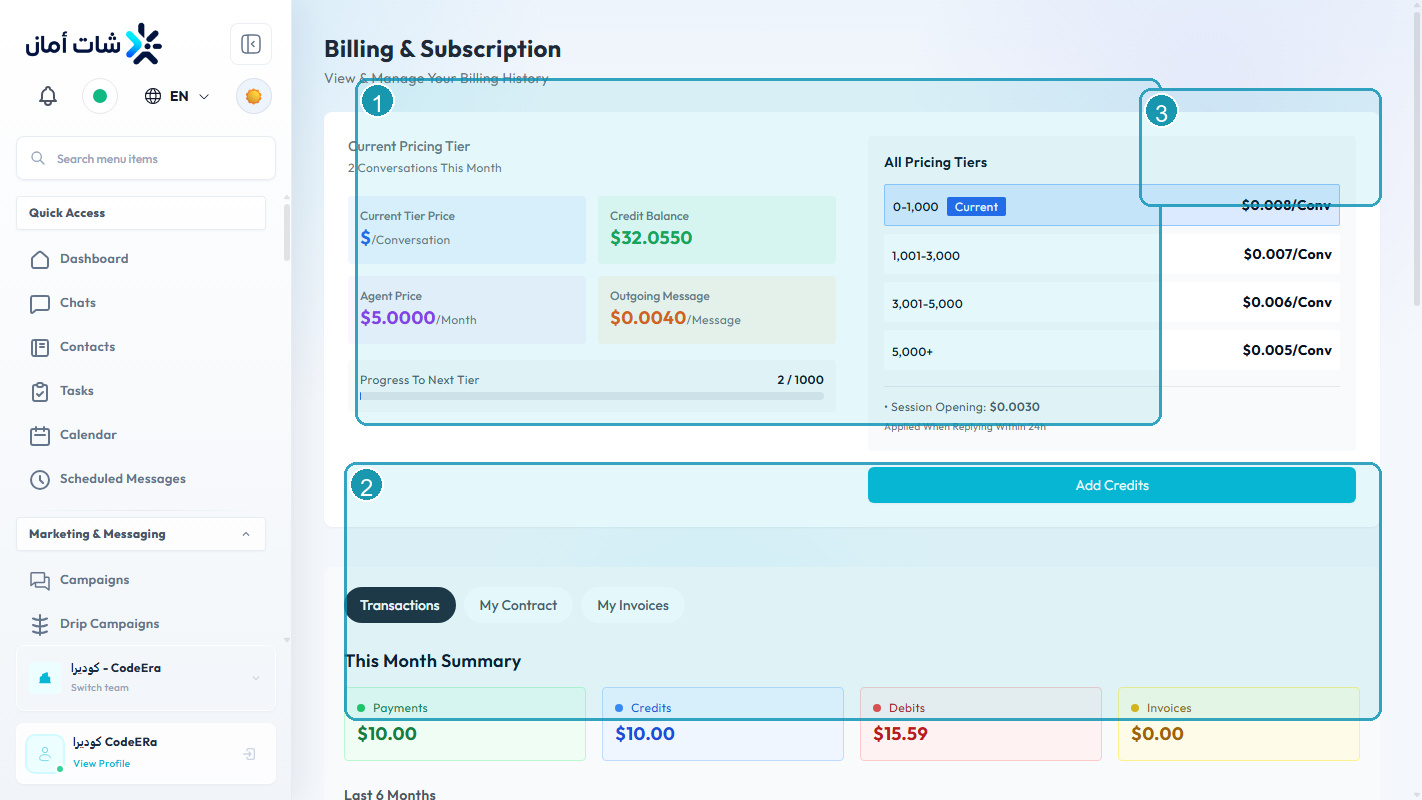
- View the active contract, pricing rules, credit position, and invoices.
To submit a new application directly, open Apply for postpaid billing.
Always confirm the active organization before uploading legal or financial documents.
5. Submit the application
Complete the form accurately:
| Field | What to enter |
|---|---|
| Company name | The legal or officially registered name. |
| Company type | The legal form or business type, when relevant. |
| Contact name | The person authorized to follow the application. |
| Contact email | A monitored work email. This is required. |
| Contact phone | A reachable business number. |
| Address, city, country | The official billing or registration address. |
| Tax ID | The tax or commercial registration identifier, when applicable. |
| Website | A valid full website URL, if available. |
| Notes | Billing requirements, purchase-order rules, or other relevant context. |
Review the information before submitting. Maintain only one active application for the organization.
6. Upload company documents
After submitting the application, upload the documents requested by the billing team.
- At least 1 file and no more than 10 files per submission.
- Accepted formats: PDF, JPG, JPEG, and PNG.
- Maximum file size: 10 MB per file.
- Files should be readable, complete, and not password-protected.
Documents are stored privately. Access and downloads are restricted and audited.
7. Download and review the contract
When the application status becomes Contract sent, download the template from the application page.
Before signing, verify:
- Legal company name and address.
- Contract number and effective dates.
- Billing cycle and currency.
- Credit limit and payment terms.
- Pricing schedule or referenced appendix.
- Billing contact details.
- Signatory name and authority.
If any legal or financial information is incorrect, contact the billing team before signing. Do not edit controlled terms without written approval.
8. Sign and upload the contract
The authorized representative should sign and stamp the contract according to company policy. Export the complete agreement as one PDF.
- PDF only.
- Maximum size: 20 MB.
- Include every page, signature, stamp, and appendix.
- The file must open without a password.
After upload, the application status changes to Signed and returns to the billing team for final review.
9. Application statuses
| Status | Meaning | What you should do |
|---|---|---|
| Pending | The application was received. | Upload any missing company documents. |
| Under review | The billing team is reviewing the information. | Monitor email and respond to requests. |
| Contract sent | The contract template is available. | Download, review, sign, and upload it. |
| Signed | The signed PDF was received. | Wait for final review and activation. |
| Approved | The application was approved and a contract record was created. | Confirm that the contract becomes active. |
| Rejected | The application was not approved. | Read the reason and contact support before reapplying. |
10. What happens after approval?
The billing team:
- Confirms the contract currency and billing day.
- Adds the agreed pricing rules.
- Sets the credit limit and trust tier.
- Checks dates and signed documents.
- Activates the contract.
Postpaid usage starts only when the contract status is Active. An approved application with a draft or signed contract is not enough.
11. Understand “My contract”
An active contract displays:
- Contract number and status.
- Billing cycle and contract dates.
- Contract currency and trust tier.
- Credit limit and available credit.
- Current outstanding amount.
- Active pricing rules.
Available credit is normally the credit limit minus current outstanding exposure. It is not a prepaid wallet balance.
Example: with a 5,000 USD credit limit and 1,200 USD outstanding exposure, available credit is approximately 3,800 USD, subject to adjustments and pending usage.
12. Pricing rules
Pricing rules define how eligible usage is charged. A rule can depend on the service, channel, unit, quantity, or agreed commercial model.
Verify that:
- The currency matches the signed agreement.
- Expected services appear in the pricing list.
- Unit prices and tax treatment match the agreement.
- Effective dates cover the intended billing period.
If a price looks wrong, stop the affected high-volume activity and contact the billing team with the contract number and usage type.
13. Credit limit and service impact
The credit limit controls the maximum unpaid exposure permitted under the contract. Usage increases outstanding exposure even before a final invoice is sent.
When available credit becomes low:
- Review outstanding and upcoming invoices.
- Pay due invoices as early as possible.
- Ask the billing team about a commercially approved temporary increase if needed.
- Avoid launching unusually large campaigns without checking credit.
Reaching the limit may restrict eligible billable operations according to the contract and platform policy.
14. How an invoice is calculated
A postpaid invoice normally contains:
- Invoice number and organization.
- Billing period, issue date, and due date.
- Usage line items, quantities, and unit prices.
- Subtotal, tax, and total.
- Amount paid and remaining balance.
- Contract currency and status.
Compare line items with contract pricing and internal usage records before payment.
15. Contract statuses
| Status | Meaning |
|---|---|
| Draft | The contract is being prepared and cannot be used for postpaid billing. |
| Pending signature | The contract is waiting for the organization’s signature. |
| Signed | The signed contract was received but is not active yet. |
| Active | Usage can be billed under the contract. |
| Suspended | Postpaid usage is temporarily restricted. |
| Expired | The contract period ended. |
| Terminated | The contract was closed and cannot be used for new usage. |
16. View invoices inside ChatAman
Open Billing and review My invoices. The latest invoices show their number, period, dates, amount, currency, status, remaining balance, and PDF action.
For every invoice:
- Confirm the organization and invoice number.
- Confirm the period and currency.
- Review line items, subtotal, tax, and total.
- Check the due date and remaining balance.
- Download the PDF for accounting records.
Keep the PDF together with the payment reference or bank-transfer evidence.
17. Invoice statuses
| Status | Meaning | Customer action |
|---|---|---|
| Draft | The invoice is being prepared. | No payment action yet. |
| Under review | Usage and totals are being checked. | Wait for the issued invoice. |
| Approved | The invoice was approved internally. | Wait for it to be sent. |
| Sent | The invoice was issued and payment is due. | Review and pay before the due date. |
| Partially paid | A payment was recorded but a balance remains. | Pay the remaining balance. |
| Paid | The full amount was settled. | Save the invoice and payment proof. |
| Void | The invoice was cancelled. | Do not pay this invoice. |
18. Public invoice link
The billing team may send a secure public payment link. The recipient does not need to sign in to view that invoice.
The page shows the invoice number, line items, totals, paid amount, remaining balance, currency, period, due date, and status.
- Treat the link as confidential financial information.
- Verify the domain before entering payment details.
- Public links expire; the default validity is 30 days unless another policy applies.
- A void, expired, or replaced link cannot be used.
If a link expires, request a new one instead of forwarding an old copy.
19. Pay online
- Open the latest secure invoice link.
- Verify the company, invoice number, currency, and remaining balance.
- Select Pay now.
- Complete payment on the configured gateway.
- Return to the invoice page.
- Keep the gateway reference and receipt.
- Refresh after settlement confirmation is processed.
The success screen confirms the gateway flow returned successfully. The invoice status changes only after ChatAman receives and validates the payment callback or webhook.
Do not immediately repeat a successful gateway payment if the invoice still shows a balance. Wait briefly, refresh, then contact support with the invoice number and payment reference.
20. Bank transfer and partial payment
If the contract permits bank transfer, use only approved bank details supplied by the billing team and include the invoice number in the transfer reference.
Send evidence through the approved support or finance channel. The billing team records the payment after verification.
A verified payment smaller than the remaining balance changes the invoice to Partially paid. A verified payment equal to the balance changes it to Paid.
Never transfer funds using bank details received from an unverified message or unofficial domain.
21. Notifications and monthly routine
Monitor the billing email for document requests, contract availability, approval or rejection, activation or suspension, new invoices, reminders, and payment confirmation.
Recommended monthly routine:
- Review available credit before high-volume activity.
- Reconcile the invoice with internal usage.
- Resolve disputes before the due date.
- Pay through the approved channel.
- Confirm the invoice becomes paid.
- Archive the invoice PDF and payment proof.
22. Troubleshooting and support checklist
I cannot see the postpaid application
Confirm the active organization and your billing permission. Ask an organization administrator to review your role.
The system says an application already exists
Open the existing application from Billing instead of creating a duplicate.
Document upload failed
Check file type, size, file count, readability, and whether the PDF is password-protected.
The application is approved but no active contract appears
Approval and activation are separate. Ask the billing team to confirm pricing, currency, contract dates, and activation.
No invoices appear
There may be no issued invoice yet, the period may still be open, or the contract may not be active.
The public link does not work
It may be expired, void, or replaced. Request a new secure link and do not edit the token.
Payment succeeded but the balance did not update
Wait for the gateway callback, refresh once, and check the receipt. If unchanged, send support the organization name, contract number, invoice number, amount, currency, payment time, and gateway reference. Never send card details, passwords, or one-time codes.
The balance or available credit looks incorrect
Compare the credit limit, outstanding invoices, partial payments, and recent usage. Report exact contract and invoice numbers with a screenshot that hides sensitive payment information.
Final checklist before paying
- Company name and invoice number are correct.
- Currency matches the contract.
- Period and line items were reviewed.
- Due date and remaining balance are understood.
- The link is on the official ChatAman domain.
- The payment reference will be saved.